Unfortunately, canvas photos are no longer the affordable yet personal gift they used to be – so why not try making your own?
DIY canvas photos have often ended up with low quality results but no more – here is the ultimate DIY canvas guide to get you the flawless result you want!
DIY Canvas Photos: What Not To Do
First, let’s take a look at the mistakes a lot of people end up committing whenever they try to make their own canvas photos.
Canvas photos are very high in quality and also tricky to replicate if you don’t have the right tools and materials.
I can’t tell you how many times I have face-palmed whenever someone has tried to stick a printed photo over the top of a canvas and called it a day – it just doesn’t have the same effect as the real thing!
However, it’s not impossible.
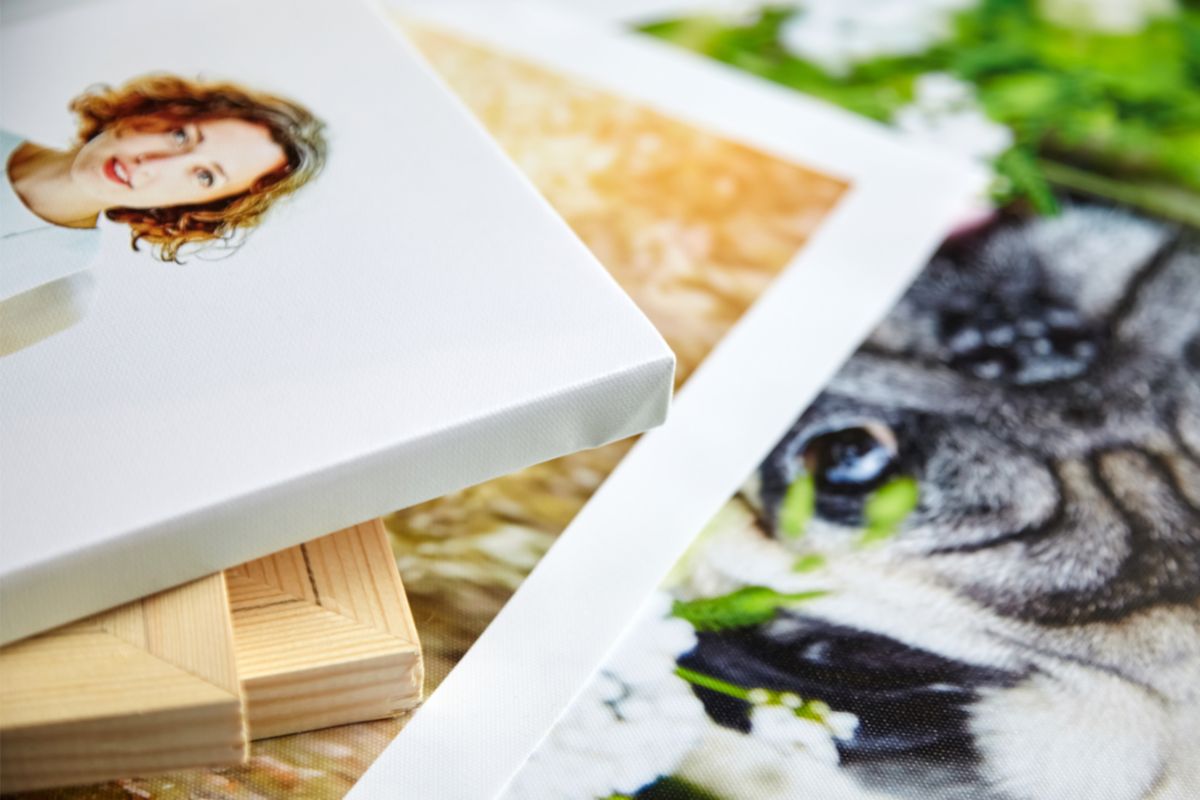
When making a DIY canvas (see also “How To Make Octopus Canvas Art (DIY)“) there are two rules you need to follow in order to make your DIY photo canvas look like the real deal.
First, ensure that the photo has the same texture as the canvas. A lot of photos are printed on matte or glossy paper and this obviously does not match the same rough texture that a canvas has.
So, when you try to fit the photo over the canvas, it will clearly look like you’ve just slapped a picture on a canvas.
The second rule is to remember that the photo needs to stretch around the sides of the canvas. If the photo comes to an end at the side of the canvas, then it will clearly look like it was stuck on and can eventually peel away.
This means that to get the perfect DIY canvas photo, you need to try some tricks to get that right canvas texture, and make sure it is printed big enough to wrap around the canvas’ frame.
What You Need To Make A DIY Canvas Photo
Now let’s take a look at all the things you need to make a high quality DIY canvas photo.
First, the photo itself. You will need to get a poster sized print of your photo from online or at a store. A lot of places now offer to print your photographs on all kinds of materials and in different sizes.
The best material is a paper with a satin finish and your poster needs to be at least two inches wider and longer than the canvas you plan on using.
As for the canvas itself, it can be of any quality and any size you desire. They’re also easy to get your hands on, whether it’s from online retailers like Amazon or your local arts and craft store.
For attaching and sealing your photo canvas, you will need Matte Mod Podge. It’s the best kind of glue to use for these kinds of projects and is unlikely to leave you with unattractive lumps.
Additional tools include a foam brush to apply the Matte Mod Podge with, good ol’ duct tape, some scraps of canvas fabric (most likely taken from a spare canvas), and a brayer.
Once you have everything ready, it’s time to head to your workbench and start making your DIY canvas photo!
How To Make Your Own DIY Canvas Photo
The first step is to take your Matte Mod Podge and spread a layer using your foam brush all over the front of your canvas. This is because the Mod Podge will be acting as the glue to stick your photo poster to the canvas.
Center the poster over the canvas and press it firmly down. Use your brayer to roll out any air bubbles underneath and this will help your poster stick securely to the canvas.
Then, flip the canvas over and roll the brayer over the underside of the canvas.
Now your poster is securely stuck to the canvas, it’s time to wrap it around the edges. You will first need to wait for the Mod Podge to dry before folding the poster around the edges and making crisp creases.
Using your Mod Podge, paint onto the sides of the canvas and fold the photo over. Then, grab your duct tape and secure the photo down.
Alternatively, you can use a staple gun if you have one – but most people just have duct tape at hand, and that works fine too!
Repeat this process for all four sides of your canvas (if it has four sides) and fold in the corners – just like wrapping a present!
At this point, a lot of people are happy with the results and leave it there. However, if you want a more ‘realistic’ texture to your DIY canvas photo, then you can move onto the next step.
Take your canvas fabric and using your foam brush, paint a thin layer of Mod Podge over your canvas.
Very quickly, press the canvas fabric down over your canvas and use the brayer to smooth it over, then remove before it dries and sticks in place!
This will leave a fabric-like texture in the Mod Podge and this will dry in place. Leave the Mod Podge to try and then, when you run your hand over the canvas, it will feel like actual fabric!
If there are any loose strands of fuzzies of fabric, then just pick them off using a pair of tweezers and your DIY canvas photo will be fully complete and ready to gift!
Final Thoughts
A canvas photo is an ideal gift to give during the holidays – it’s sentimental, useful, and sure to draw smiles all around the room.
However, due to the rise in demand, companies have raised their prices to take advantage of the market – so just save some money and make your own this season!
Hi, my name is Jenna King and I used to be so bored with my life - waking up, working, watching TV, and going to bed.
I made one major change in my life - I started saying yes to everything. My friend wanted to take a cooking class with me, which I would never normally do, but I said yes.
I created this website as an inspiration to you, no matter where you are in life, to get out there and try something new.
Right now - pick something from my site, whether it be a recipe, DIY, or activity - and have fun!


")


")


")
")
